"Come along inside... We'll see if tea and buns can make the world a better place."
Kenneth Grahame

Monday, December 27, 2010

Pierogies ain't health food.

My whole family has been feeling under the weather lately, but I have this new theory that if I don't baby a cold, it will understand who is boss and go away.  I've been a little torn lately, though, because I think viruses are super cool.  Especially bacteriophages (favorite!), because they are awesome and don't hurt me. I digress.

My not-babying plans were interrupted by that snowstorm that's making New York City so miserable (suck it up, fools!  I spend my winters in Western New York!), so to keep myself occupied at home, I made pierogies.

I've had this recipe saved in my favorites for awhile, so I decided to try out a modified version I made up in my brain.  Without further ado...

Blanket's Sort-Of Lazy Pierogies


Start off by making the filling (this is where the sort-of lazy part comes in.)  I used instant mashed potatoes and made 8 servings (an estimate that turned out to be quite a bit too much.)  Then I seasoned them with salt, pepper, onion and garlic and set them aside to cool.

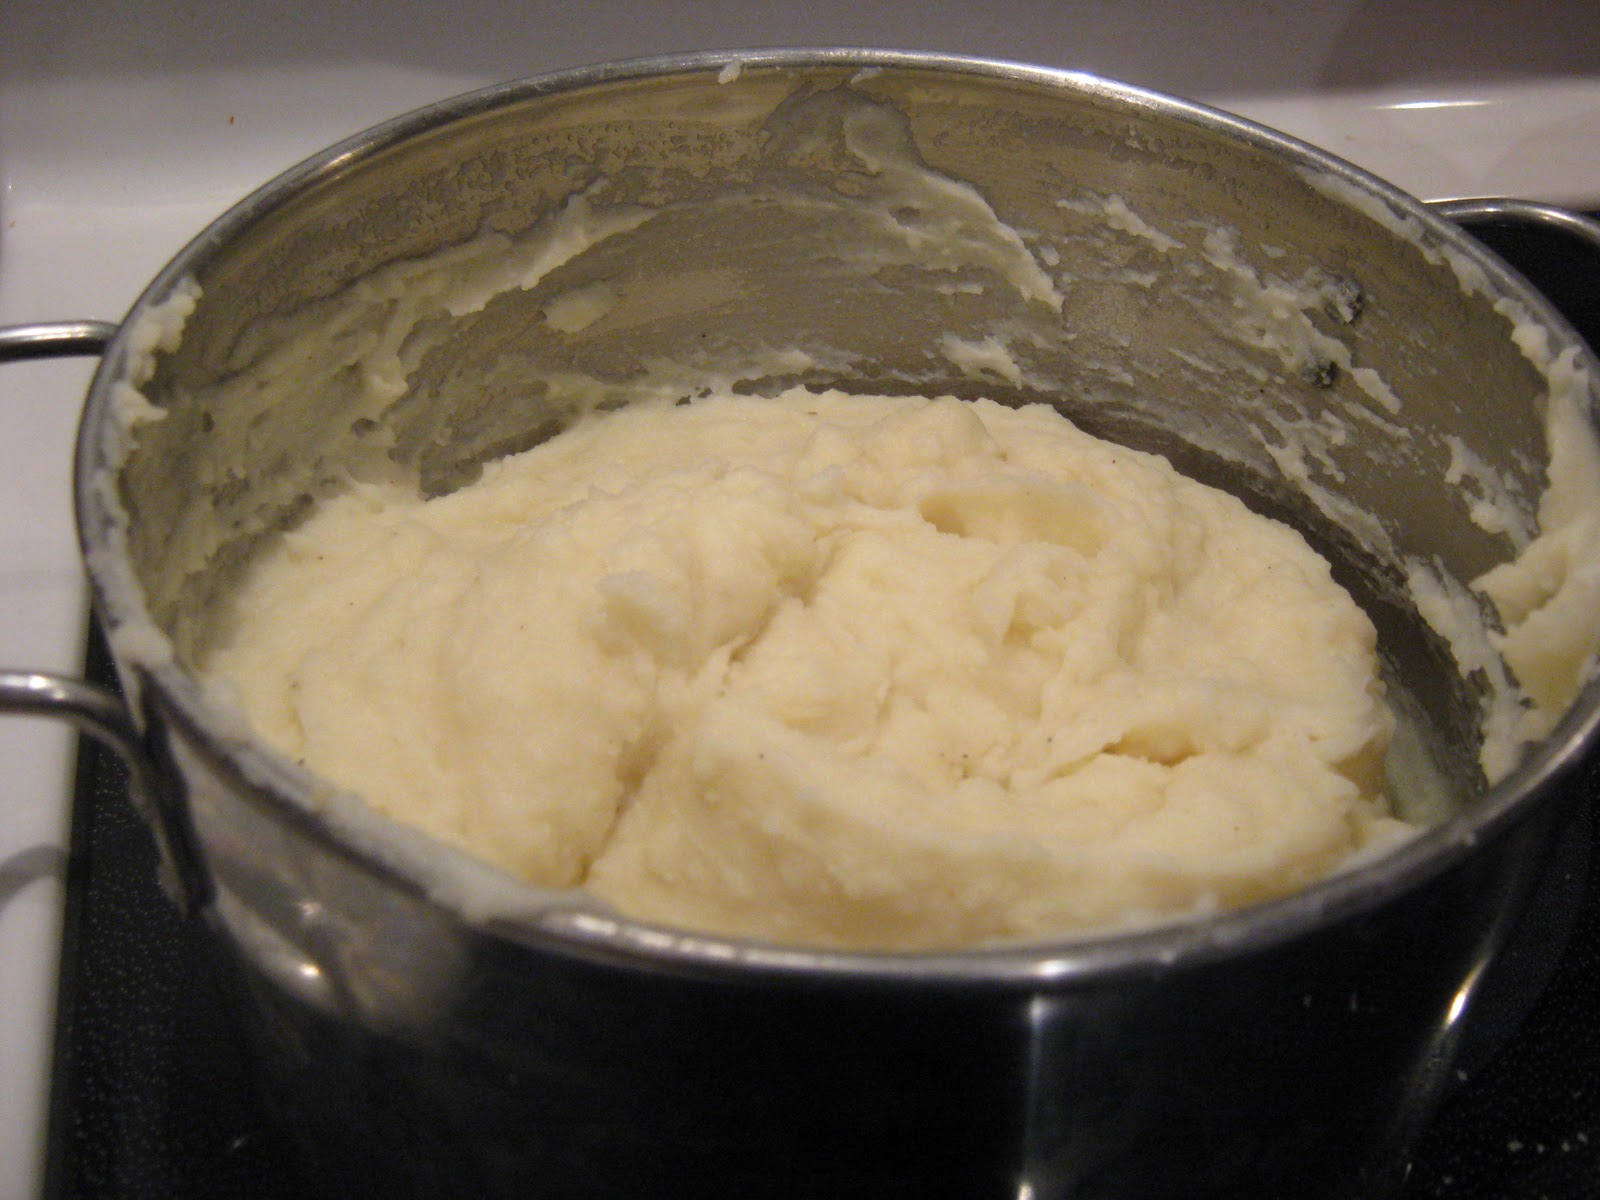
One of these days I'll make real mashed potatoes, just to
prove I don't suck.

For the dough, I used the recipe I'd found.  It's about as basic as humanly possible.


  • 5 cups flour
  • 2 3/4 cups cold water
  • salt to taste

I didn't even add salt to taste, although I will if I make these again, because the dough was a little bland.  When you first mix it up, the dough will look like this--

Not so pretty.

Knead the dough on a clean, floured surface until it is soft and elastic.  I love kneading.  I think it has something to do with fond childhood memories.  But even I get bored after a few minutes.  So here's my kneading rule of thumb- when you think it's probably ready, go ahead and knead another 5 full minutes, because you've always been impatient and you don't want to screw this up.

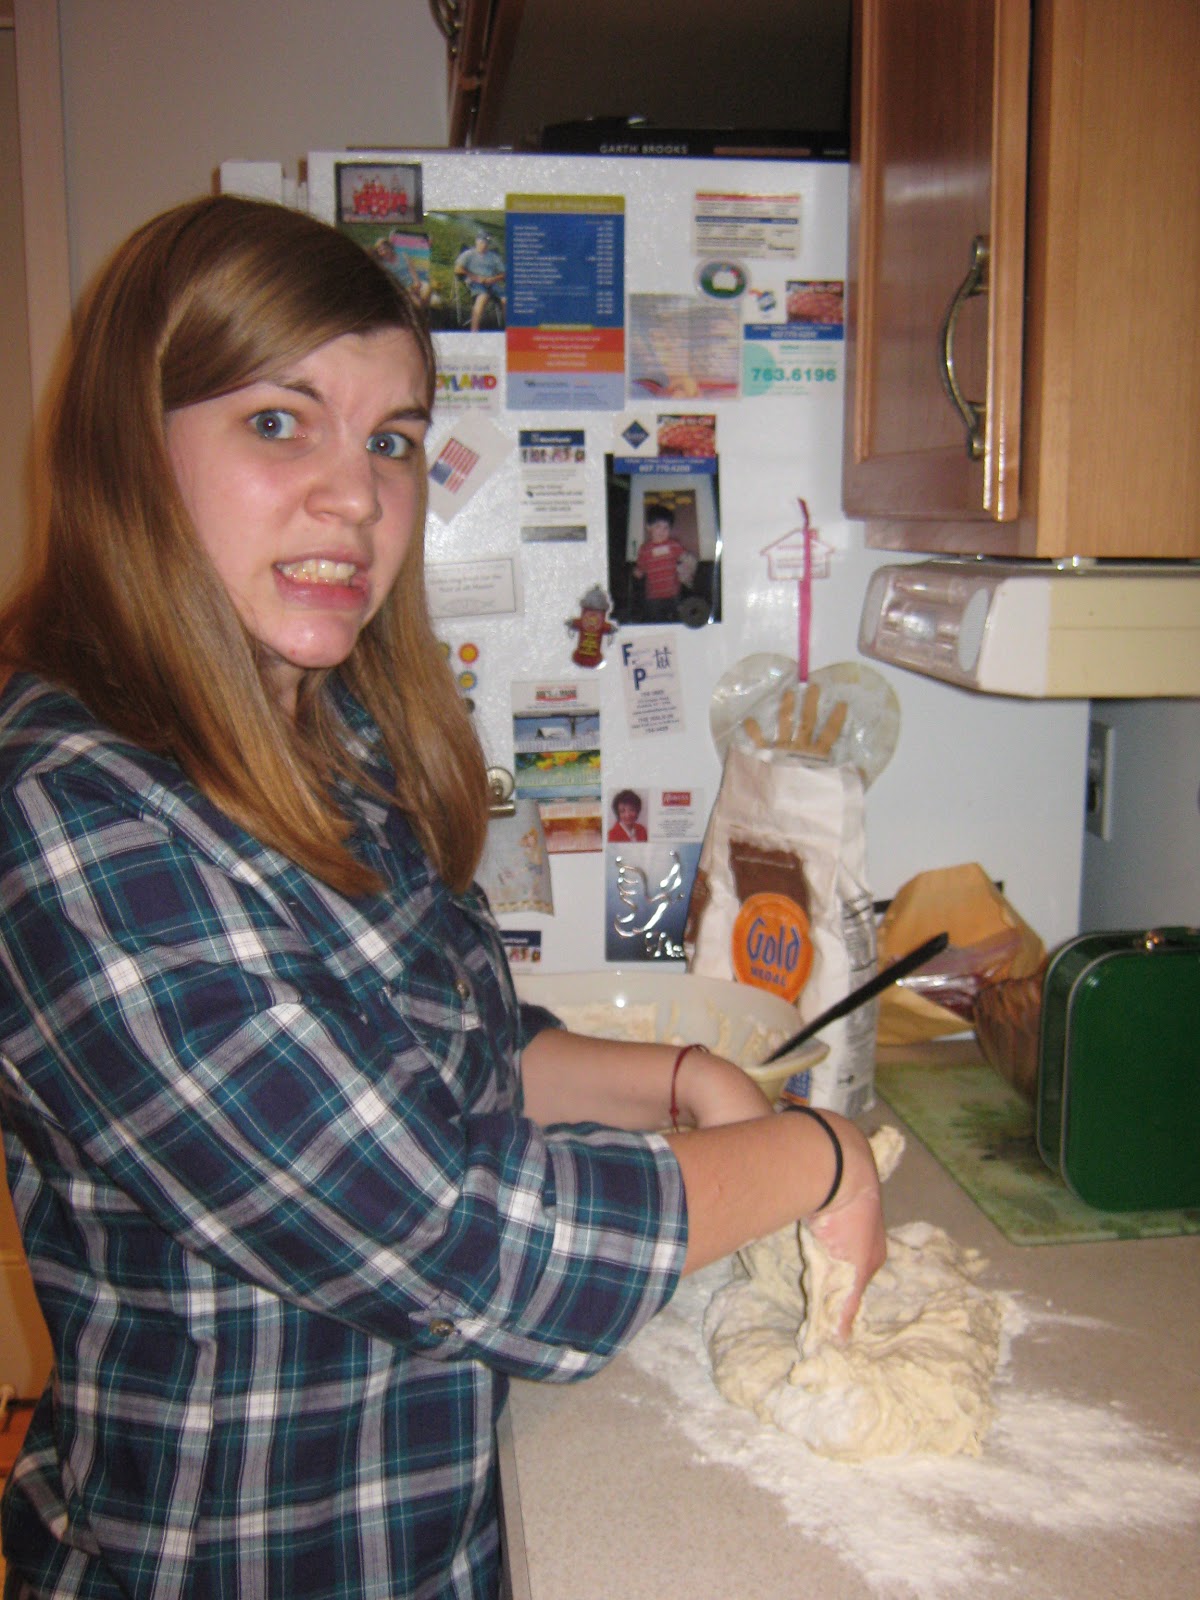
I could be a motivational speaker.

Here's how it should look when you finish kneading--

I could also be an 18th century artisan Italian bread man.

When the dough is ready, divide it up into two balls so that you aren't working with so much.  Take one of the balls and roll it out so that it is about 1/8-1/4" thick.  If it's too thin, the pierogi might come apart while you're boiling it.

I got paranoid and made it a little too thick.

Then cut it up.

I just kind of guessed what size.

Take a piece of dough and stretch it out to the right thickness.  Drop a little spoonful of mashed potatoes on top.

Mr. Pierogi says "Don't overstuff!"

Fold one side over, then crimp up the edges tightly.

Remember hair crimping?  I wish I didn't.

Now you have a pierogi ready to boil!  Repeat this process until all the dough is gone.

Mine got progressively uglier.

Fill a pot about 1/3 with water and bring to a rolling boil.  Drop in 4-5 pierogies and stir them a little to keep them from sticking right away.  Let them boil for 4 minutes, then take them out with a slotted spoon.  They should float when they're done.

They grow and get slimy!

You can stop here, or fry them in a little olive oil, like I did.

This might be where they crossed from "no nutritional value"
to "are you really going to eat that?"

This recipe made a LOT of pierogies.

Om nom nom.

Overall?  Well-received by my family, including my little brother, who started out wanting to know why I would ruin ravioli by not using cheese.

He's not messing around.

On an unrelated note, one of the reasons I didn't blog much the past few weeks was that I was working on my big brother's christmas present.  I crocheted him a blanket using a fat needle, chunky yarn, and a triple crochet stitch.  He's moving to Australia this summer, so I wanted to make him something special.

I'm the best little sister ever.

Thursday, December 23, 2010

A Very Blanket Christmas.

Merry Christmas, my darling Blankies!  My gift to you is a special Christmas recipe!

Look, I know it's Christmas Eve Eve and that by the time you read this it might be regular Christmas Eve, or even Christmas, or if you aren't a dedicated fan, AFTER Christmas (shame on you) and this recipe will be mostly useless for a year.  I been busy.  No hatin'.

My Christmas post is brought to you by my BFFL Emily.  Have I told you about Emily?  Emily and I are the same person.  She's awesome.  For those of you who have not met us, our relationship can be summed up like this--


Understand?  Good.  Let's proceed.

Emily invited me over to make a gingerbread house this week.  From scratch.  Because she's awesome.  Here's our creation--

Sorry if our talent hurts your eyes.

I know it looks like a pretty standard gingerbread creation, but remember the number of kits involved here: zero.  Not to mention that was the tastiest gingerbread I ever did eat--very light and sweet.  Here is the recipe she used, brought to you by the incredibly helpful gingerbreadlane.com.

6 cups all purpose flour
1 3/4 cups sugar
2/3 cups shortening
1 tablespoon ground cinnamon
1 tablespoon ground ginger
2 teaspoons double-acting baking powder
1 1/4 teaspoons salt
1 teaspoon baking soda
1 teaspoon vanilla extract
1 eight-ounce container sour cream
2 eggs


To prepare dough: Into large bowl, measure 3 1/2 cups flour and remaining ingredients. With mixer at low speed, beat until well mixed, constantly scraping bowl with rubber spatula. With hand, knead in remaining 2 1/2 cups flour to make a soft dough. Wrap dough in plastic wrap and refrigerate 2 hours or until dough is not sticky and is of easy kneading consistency.

Look! It's even all red and Christmasy.  Note the fact that the recipe contains no molasses, which is a typical gingerbread ingredient.  That's why the dough is so light and it didn't taste like suck.

Emily made the dough ahead of time, so by the time I showed up we were ready to roll it out.

She could be a hand model.

Roll the dough out thin and even, then stick a toothpick in the dough and mark where the dough is.  Use this toothpick to check that all of your dough is an even thickness.

Search online for the pattern of the house you want and print it out on heavy paper.  Here's the one we used--

D'awwwww.

Lay the pieces on the dough and cut them out.

I have little stubby baby hands.  Whatever.

The easiest way to do this is to roll the dough out on parchment paper, cut the piece out, then lift away the excess and put the parchment paper right on the baking sheet.  This will keep your pieces from getting distorted.

You can cut little shapes out of the dough if you'd like.  We cut a door and a window out of the front panel.

Put all the pieces on baking sheets and get cooking.

I only surround myself with cute people.

Bake the dough at 350º until the dough is firm to the touch, about 10-12 minutes, then allow it to cool.  While you're waiting, you can occupy yourself by making cutouts with the extra dough...

EEEEEEE!!!!

...finding strange things in the drawer that you use to drink juice out of an orange, and trying them out...

EEEEE HEHEHEHE!!!!!!

...or doing something useful, like making the icing.  Here's the recipe, also from Gingerbread Lane--


3 egg whites
1/2 teaspoon cream of tartar
1 (16 oz box) confectioners powdered sugar

In a large bowl combine all ingredients. Beat 7 minutes with an electric mixer until smooth and thick. A good test is when a knife blade drawn through the icing leave a clean cut. Store in a tightly sealed container if you are not using it right away.


This recipe was really easy and worked fantastically for holding the house together, but please, please, please, DO NOT eat it.  This is why--

The egg is so gross but the separator is so cool!
Also I can't figure out how to rotate this photo.

Please don't eat raw eggs, children.  Gross.  When you're done mixing, the icing should look like this--

Is anyone else noticing that Emily's kitchen is full of
awesome things?

Scoop the icing into ziplock bags and trim a little hole in the corner to use for piping.  By now your pieces should be cooled, and you can start putting the house together.

Find a stiff surface to build the house on, like a piece of thick cardboard.  We used a wooden cutting board wrapped in aluminum foil.  Start by attaching one side of the house to the board.  Pipe icing down the edge of the cookie, hold it upright on the board, then pipe more icing down along either side.  When you start attaching other panels, do the same thing, but also where the two cookies meet.

Cans can help keep everything in place, but this icing was
actually pretty awesome and cement-y.

Get the first four walls together and let them dry in place.  Decorate the roof pieces before you put them on the house.  Emily made a really pretty lattice thingy.

Such class.

I put the chimney together while she did the roof, but I got scared it would fall apart and used way more icing than I needed.  Mysteriously, no pictures of just the chimney exist.  Huh.

Attach the roof using the same technique as before.  Ours happened to be the perfect size to be held in place by tuna fish cans.

Once the house is together, you can decorate it however you'd like.  I went into the bulk candy section at a local supermarket and found all kinds of Christmas candy.  This is the fun part.

On our house, we added lots of little touches.  Here are a few of my favorites.  Candy cane cookies on the back wall--

Mine is on the right.  I can't make stripes.  I don't know why.

Cotton ball chimney smoke--

I'm a champ at chimney smoke.

And her dog, Sam, peeking out the front door.

I also have a dog named Sam.
WE ARE THE SAME PERSON.

Overall, this house was a huge success and we got to eat a bunch of delicious gingerbread cookies.  An excellent way to spend an evening.  Wanna see one more picture?  Huh?  Huh?

Oh, if you insist.

Now I know what some of you are thinking.  "Blanket, you do so much for me.  My life is essentially spent waiting for another post full of your wisdom and loveliness.  I, and all the other Blankies, should be showering you with Christmas gifts!"

That's sweet, my children, but you forgot that I am also humble and totally not materialistic at all ever.  Like Mother Theresa.  Besides, I had the best gift I could ever ask any Blankie for waiting in my inbox the other morning.

The perfect blend of thoughtfulness and creep.

Merry Christmas, my dears.

Saturday, December 18, 2010

It's beginning to look a lot like Christmas (cookies. HA!)

Your intrepid blogger has returned home for winter break.  It's comforting to sit around all day in my bed on my computer oh wait that's exactly what I always do.

A lot of my friends get excited to have home-cooked meals on breaks.  My excitement is more caused by the knowledge that here, my burner won't light on fire and my microwave won't take twenty minutes to half-cook a frozen burrito.  I take joy in the little things.

I also take joy in the big things, and the biggest thing EVER is a week from tomorrow!  It's Christmas time, Blankies!

(Side note: I decided that, as my fame grows, I, like Lady Gaga, needed a name for the members of my rapidly growing fan base of people who totally aren't just my mom.  First person with a "Little Blankie" tattoo gets a restraining order signed by yours truly!  Get on that, Blankies.)

Anyways, Christmas time means Christmas cookies.  And Christmas cookies means my mom making everything except pizzelles.

Pizzelles are Blanket turf.

For those of you who don't know, pizzelles are flat cookies made in a machine kind of like a waffle maker.  They are usually flavored with vanilla or anise.  And they are mighty tasty.

Just to whet your appetite.
Where does that phrase even come from?
Whet is a weird word.
I digress.

First off, to make pizzelles, you will need a pizzelle maker.  Unfortunately, I don't see any way around that.  A quick google search brought up a bunch of models you can get for around $40, and stores tend to have them this time of year.  If purchasing a pizzelle maker is out of the question, enjoy the rest of this blog vicariously.

I used the recipe that came with my maker.  Seeing as our model is about 20 years old and I doubt Pizzelle Chef brand will come after me, I'm sharing the recipe with you.

I'm like cute, food-related wikileaks guy.

Here is the recipe from the kitchen of the Vitantonio manufacturing company (is that even a thing anymore?)


Classic pizzelles-
6 eggs
3 1/2 c flour
1 1/2 c sugar
2 Tbsp. vanilla or anise (I used vanilla)
1 c melted margarine (I used butter.  Don't try to substitute oil.  Their words, not mine.)
4 tsp. baking powder

Beat eggs, adding sugar gradually until smooth.

Add cooled margarine and vanilla or anise.

Sift flour and baking powder.

Blend into egg mixture until smooth.  Dough will be sticky enough to be dropped by spoon. (LIES.)

Bake in pizzelle baker.  Makes approximately 60 pizzelles.


This recipe doesn't quite work.  When you make it as written, you end up with this.

Here's where I made a phallic joke, and
 Mama West got annoyed.

That dough isn't getting dropped by any spoons any time soon, so you'll need to thin it out with milk.  Add a LITTLE BIT at a time.  Like a tablespoon or two.  Keep adding milk and stirring until it looks a little more like this--

Smooth as a baby's bottom.
That one's actually pretty gross.  Who comes up with these?

Once you have your batter, it's prep time.  Years of pizzelle making have taught me that the hardest part is having enough space prepared to lay them out to dry.  First, I set up a pizzelle station, which includes a cooling rack to keep them on until they're cool enough to be put on the counter.  A-like so.

Shit's getting real.

Then, clear off counter space and cover it with paper towels or unfolded napkins.  You have to lay the cookies out flat for awhile, or else they won't get firm.  A-like SO.

Really real.  For real.  Really.

Have a stop watch or a clock with a second hand nearby.  I used my phone's stopwatch.  When your pizzelle maker is heated up, use a spoon to drop a lump of batter in each side of the mold.  It may take a few tries to figure out how much batter you need to use.

Lookin' good.

Close your maker and let the cookies bake for however long yours requires.  Mine cooks in 30 seconds, but it's also super old, so new makers may be different.  They should look like this when you open it-

Pretty!

Throw away the first two cookies, because the maker probably gets gunky being stored away all year.  Or do what I did, and feed them to your dogs.

Before you judge me, remember they choose
to eat poop.

Forewarning-- If you give a dog a cookie, you deal with this the rest of the time you're cooking--

It gets creepy after awhile.

Baking pizzelles is really easy, as long as you stay on top of them and make sure you have space.  I filled up two countertops.

OH GAHD THEY'RE EVERYWHERE.

You can stop here and enjoy your cookies, or go for the wow factor.

Sprinkles=culinary jazz hands.

First, melt some chocolate chips.  Do this slowly.  15 second increments.  Stir after each one.  Do not attempt to thin the chocolate.  Not even with butter.  I know it totally makes sense.  Don't.  This will happen.

This is called seizing.  And your mommy cannot fix it.
 Even if you whine. Trust me.

After you mess up and seize your chocolate, melt some more.  The drizzling technique took a few tries, but eventually i put the chocolate in a zip-lock bag, trimmed a corner, and used it like a pastry bag.  Here's the method I settled on.

FANCY.

Drizzle across the cookie in one direction.  Let the drizzles fall off the edge.  This will let the eater know that their baker had a devil-may-care attitude, and that this cookie was made by a rebel.


FANCIER!


Drizzle again at a slightly different angle (not 90º.)  At this point, the eater will say, "These cookies look incredible!  At what culinary institute was your baker trained?"

And you will say, "The school of life."  And they will feel ashamed.

You can either stop here, and  end up with cookies like this--

Nom.

Or go ahead and add sprinkles.

Om nom nom.

Just for fun, here is the evolution of my drizzling technique.  I call this one "The Spoon Drizzle Followed By Frustration And Smearing."

Classy.

I call this one "The Nervous One Direction First Drizzle With The Pastry Bag Drizzle."

Good effort.  No soul.

Also, just for fun, I made this one.  Can anyone guess what I was making a picture of?

Anyone?  Anyone?  Bueller?

It's clearly the DNA of a bacteriophage virus attacking a prokaryote.  Ya buncha nerds.